01 — Open or Fork a Training#
Open Editor in the app's header. The first page is the entry selector: every hands-on training of the tenant, and the way to bring in one that is not there yet.
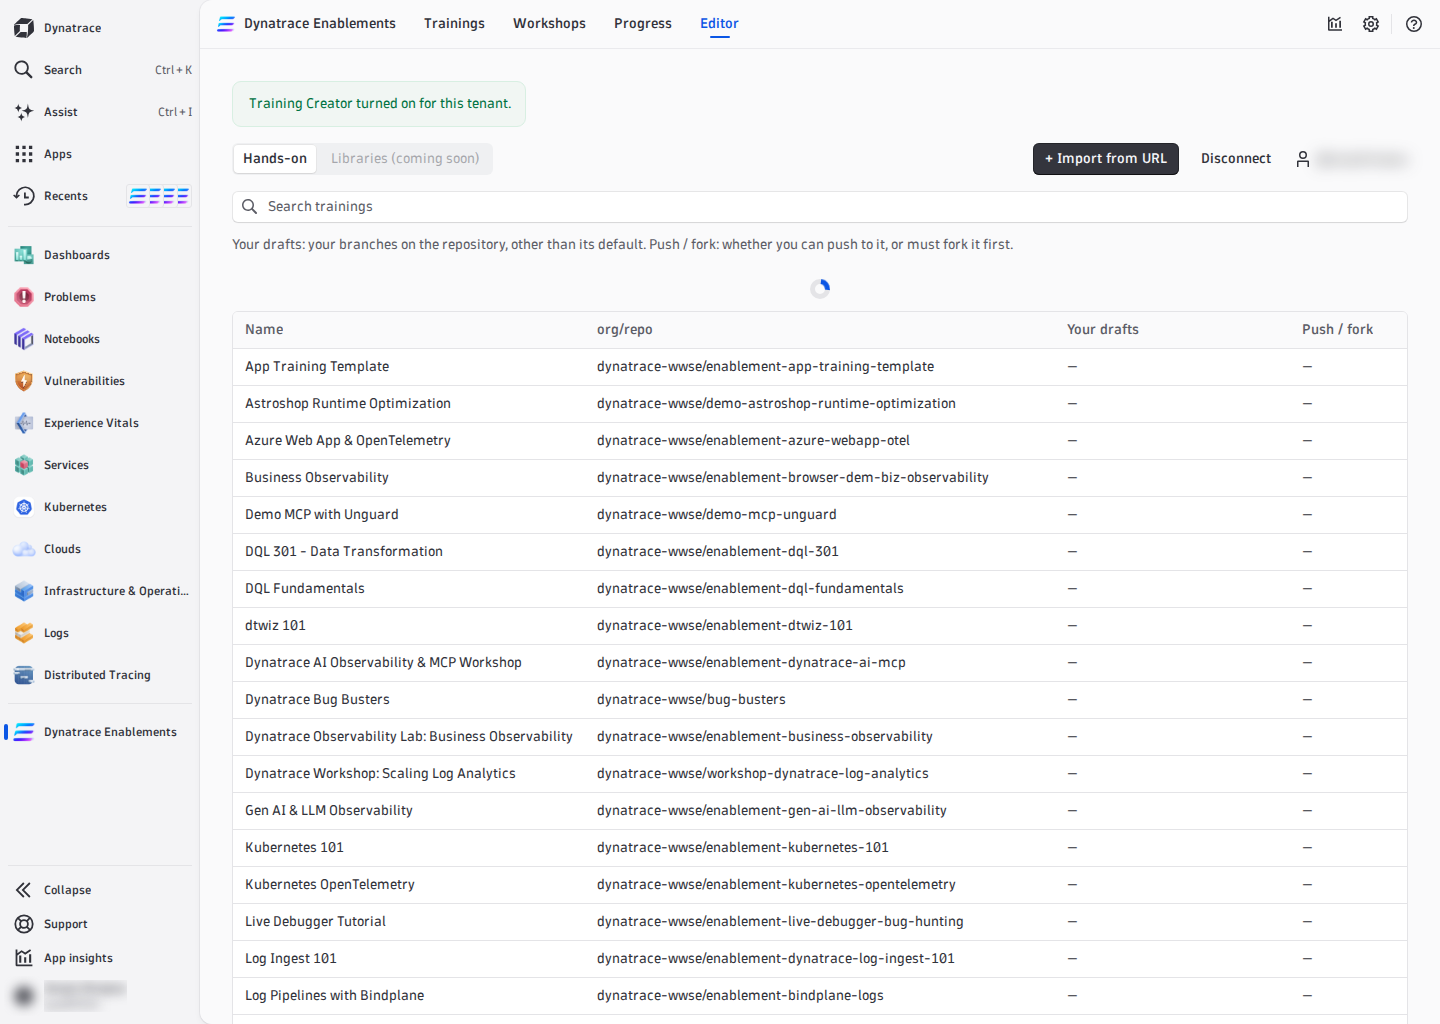
The trainings table#
| Column | What it tells you |
|---|---|
| Name | the training's title |
| org/repo | its GitHub repository — a fork and its upstream are two rows |
| Your drafts | your branches on the repository, other than its default branch |
| Push / fork | Push when you can commit to it, Fork when you must fork it first |
The search box matches the name or org/repo. Above the table, Your running environments lists every environment you already have running, each with Open — it takes you straight back to that branch, attached to its environment.
Open a branch you can push to#
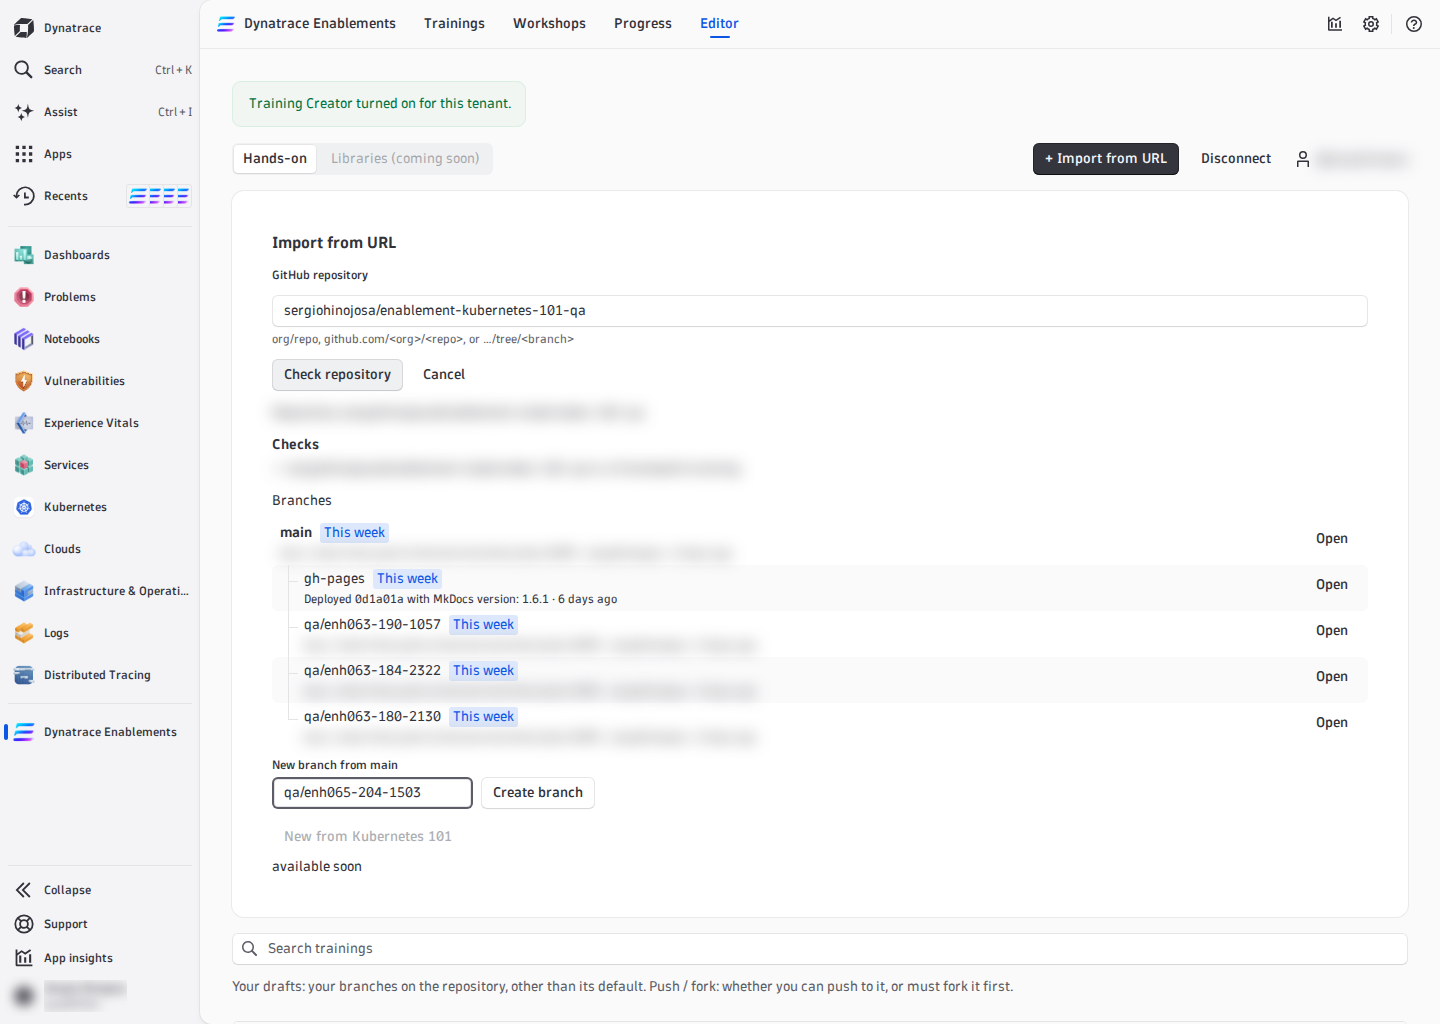
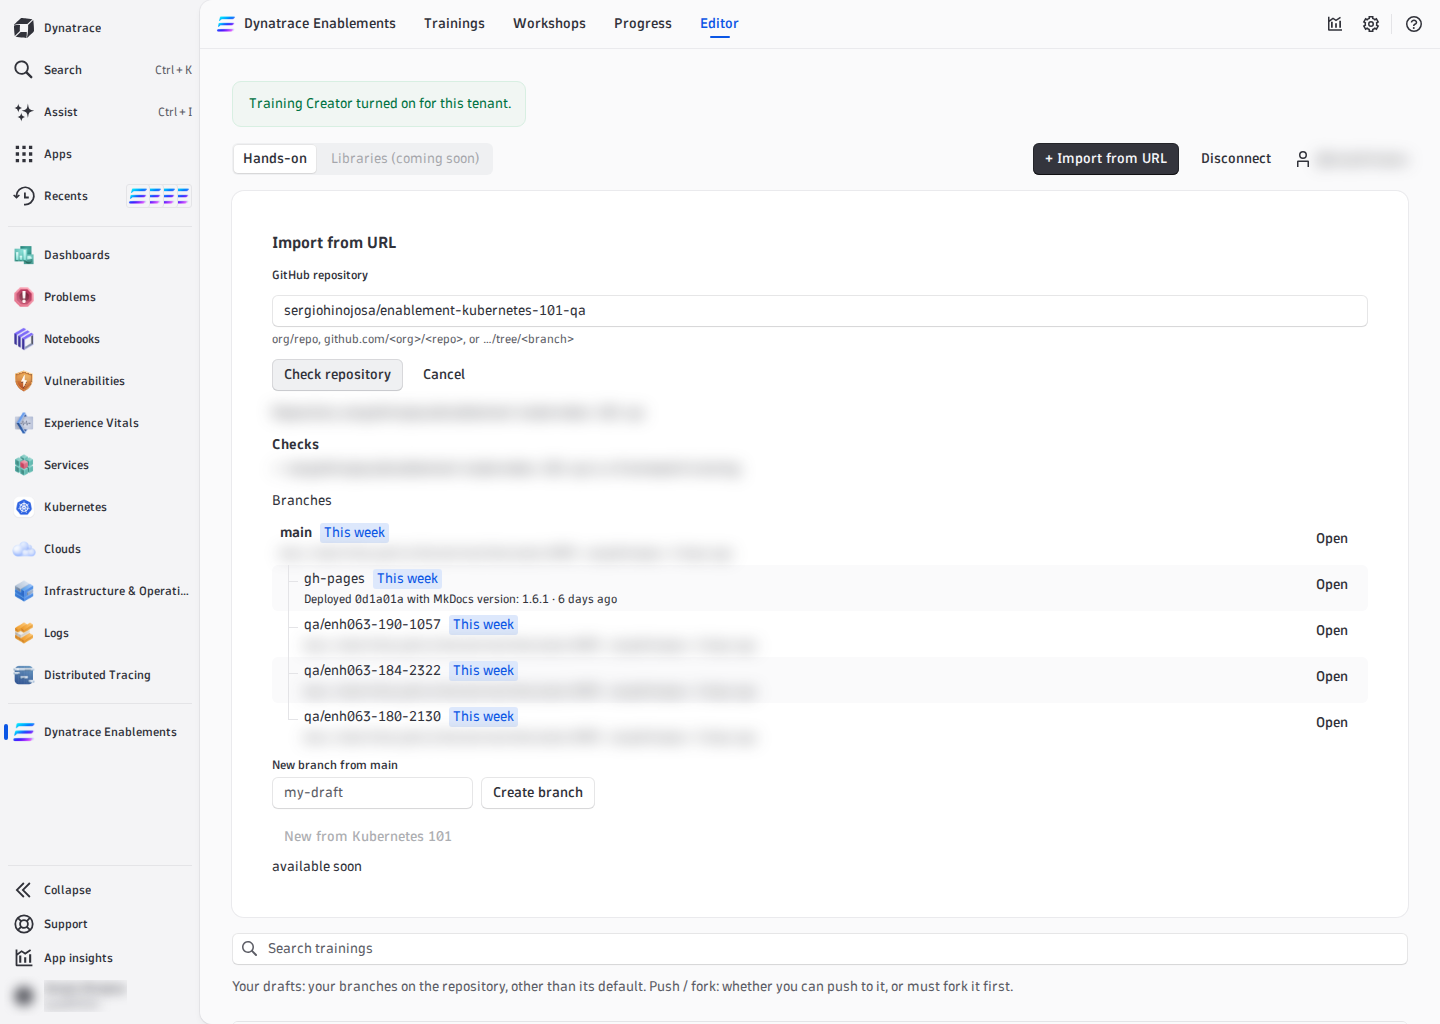
Click the row (or press Enter on it). The panel lists the repository's branches, each with Open, and New branch from main with Create branch.
Always work on a branch, never on main. Type a name such as docs/my-first-step and press Create branch: the branch is created on GitHub at once and the editor opens on it.
Later, inside the editor, the + next to the branch name in the breadcrumb (New branch…) does the same from the branch you are on.
Fork a training you cannot push to#
When the row says Fork, the panel offers two ways:
- Install App on <owner> — if you own the organization (or can ask its owner), install the editor's GitHub App there. You can then push to the repository's branches directly.
- Fork (or Fork to my account under a repository you can push to) — a copy under your GitHub account, opened in the editor. Commits are made as you, on your copy. If you already have a fork, the panel offers Open my existing fork instead.
A fork is how you start a new training from this template: open App Training Template, choose Fork to my account, and work on the fork.
Import a repository by URL#
A repository that is not in the table yet: press + Import from URL, enter org/repo or github.com/org/repo (a …/tree/<branch> URL opens that branch), and press Check repository. The checklist confirms it is a framework training; then the same branch list, Open and Create branch appear.
What you see once a branch is open#
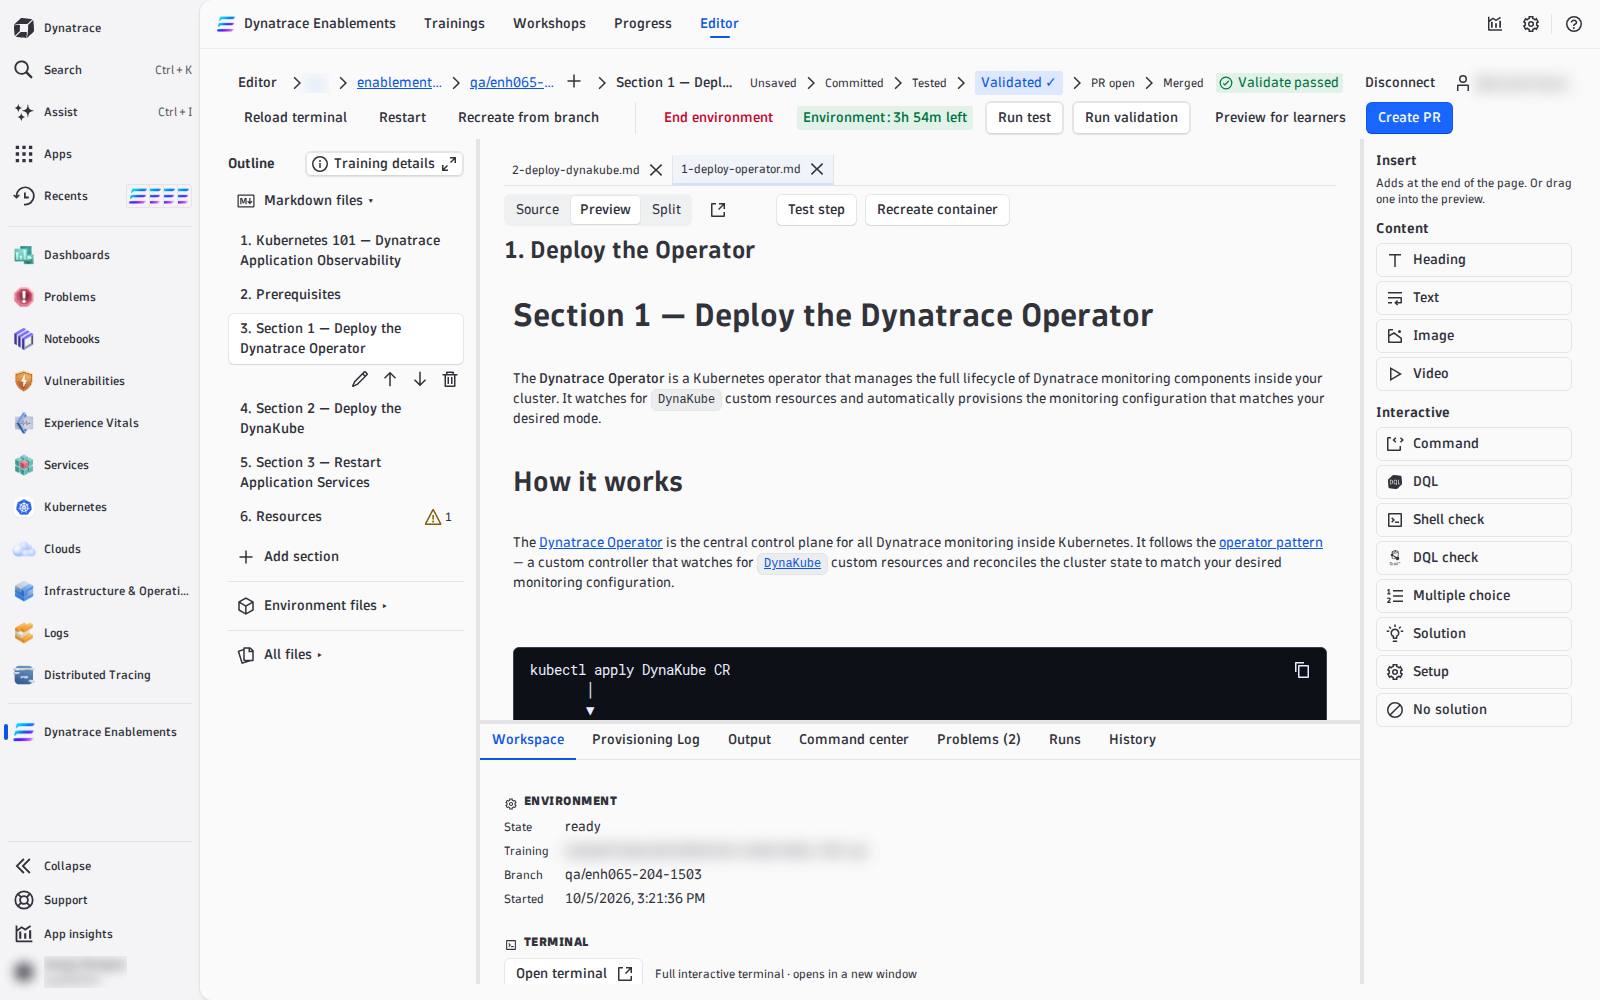
| Part | What it is |
|---|---|
| Breadcrumb | Editor › org › repo › branch › section — Editor goes back to the selector; org, repo and branch open GitHub in a new tab; + creates a new branch |
| Stage path | Unsaved › Committed › Tested › Validated ✓ › PR open › Merged — where your branch stands |
| Action row | the environment controls, Run test, Run validation, Preview for learners, Create PR |
| Outline (left) | Markdown files (the steps, in nav order, with Add section and Training details), Environment files (post-create.sh, my_functions.sh, tokens, DynaKube), All files |
| Document (middle) | the open files as tabs; Source / Preview / Split; Test step, Recreate container |
| Dock (bottom) | Workspace, Provisioning Log, Output, Command center, Problems, Runs, History |
| Insert (right) | the content and interactive blocks you can add to a page |
The Environment files part is where the automation lives. Dynatrace tokens and Dynakube show View default (the framework's file, read-only) until you press Override, which creates .devcontainer/yaml/dt-tokens.yaml or .devcontainer/yaml/dynakube-config.yaml in your branch. What goes in them: Automate the Environment.
Without GitHub
A training can also be opened read-only without connecting GitHub: you can read every file and the preview, but not start an environment or commit.